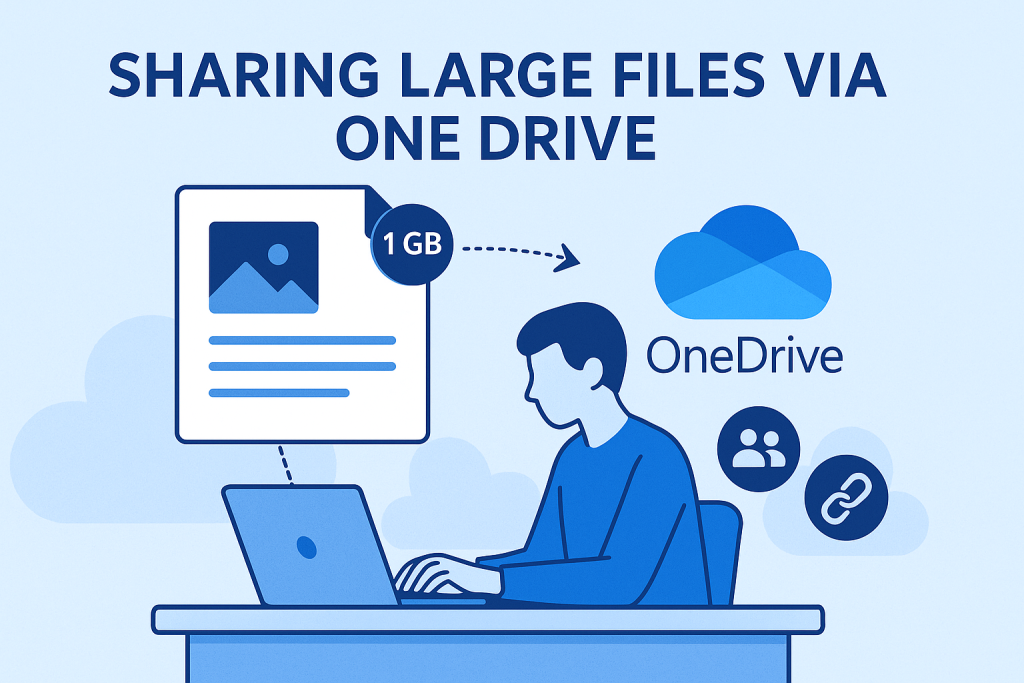
Wanting to share your files with us but too large to send over e-mail? Here’s a step-by-step guide to setting up a shared OneDrive folder for your yearbook project.
✅ Step 1: LOG IN TO YOUR ONE DRIVE ACCOUNT
First, go to onedrive.live.com and log in using your Microsoft account. If your school uses Microsoft 365, you might already have access through your school email.
? Step 2: CREATE A NEW FOLDER
Once you’re in OneDrive, click the “+ New” button near the top of the screen.
Choose “Folder” from the drop-down menu.
Name the folder something like “Yearbook 2025” to keep things organised.
Click “Create.”
? Step 3: SHARE THE FOLDER WITH YOUR TEAM
Now that your folder is created, it’s time to invite your fellow yearbook editors, photographers, and staff members.
Right-click on the new folder and select “Share.”
In the sharing window, enter the email addresses of the people you want to collaborate with (sharing with us? Use ar*****@**************om.au).
Click the settings gear icon (⚙️) to set permissions:
– Choose “Can edit” if you want others to upload and change files.
– Choose “Can view” if they should only be able to look at files.
Click “Send.”
Tip: If you’re working with a large group (like a whole class), consider creating a group email or using a shared Teams channel if your school supports it.
?️ Step 4: ORGANISE YOUR FILES
To keep things tidy, create subfolders inside your main yearbook folder. Here are some ideas:
– ? Photos (Organised by event or date)
– ? Drafts
– ? Layout Templates
– ?️ Meeting Notes
– ✅ Final Submissions
Everyone will thank you for a well-organised folder!
? Step 5: KEEP IT UPDATED
Encourage your team to upload photos and drafts regularly. You can also use OneDrive’s version history feature to roll back to earlier versions of files if needed.
? Step 6: MANAGING AND REMOVING TEAM MEMBERS
As your yearbook project evolves, you may need to update who has access to your shared OneDrive folder.
To manage or remove team members, right-click the folder and select “Manage access.” This will show a list of everyone who currently has permission.
You can change someone’s permission level (e.g., from “Can edit” to “Can view”) or click the “X” next to their name to remove their access completely.
Keeping this list up to date ensures that only the right people can view or edit sensitive files, especially once the yearbook moves closer to its final draft.
–
? Final Tip: USE THE ONEDRIVE APP
Install the OneDrive app on your phone or tablet. This is great for uploading photos directly from events, especially if your team is on the go.
With your shared OneDrive folder in place, your yearbook team can stay organised, collaborate more efficiently, and avoid the chaos of missing files or duplicate versions. Happy yearbooking!


